+86 15633683072
A welding track carriage can improve the consistency of circumferential welding, but its performance depends heavily on correct installation and alignment. If the track is unstable, the travel path does not match the joint, or the torch is positioned incorrectly, the carriage may produce uneven weld beads even when the travel speed remains constant.
For large pipe welding, these problems become more difficult to manage because the circumference is longer, access may be restricted, and the carriage must follow the joint without interference throughout its travel.
This guide explains how to install a welding track carriage, align it with a pipe joint, adjust the torch, conduct a dry run, and verify the first weld before moving into production.
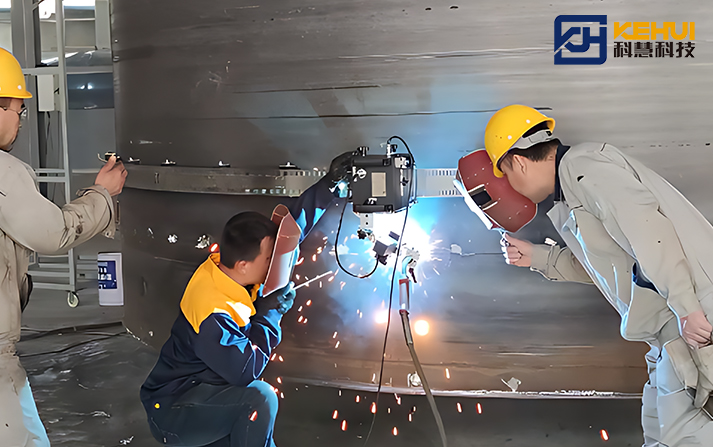
A welding track carriage is a mechanized welding device that travels along a dedicated track while carrying a welding torch. Depending on the machine design, it may provide adjustable travel speed, torch positioning, oscillation, or integration with a compatible welding power source.
Compared with manually guiding a torch, an automatic welding carriage for pipe helps maintain a more repeatable travel path and reduces continuous manual movement.
It is commonly considered for circumferential seams on large pipes, pipe sections, and other cylindrical workpieces. The installation method depends on the track design, workpiece geometry, welding position, and whether the track is rigid, flexible, or otherwise adjustable.
Before installation, confirm the carriage's operating range, compatible track type, attachment method, torch adjustment range, and required safety precautions.
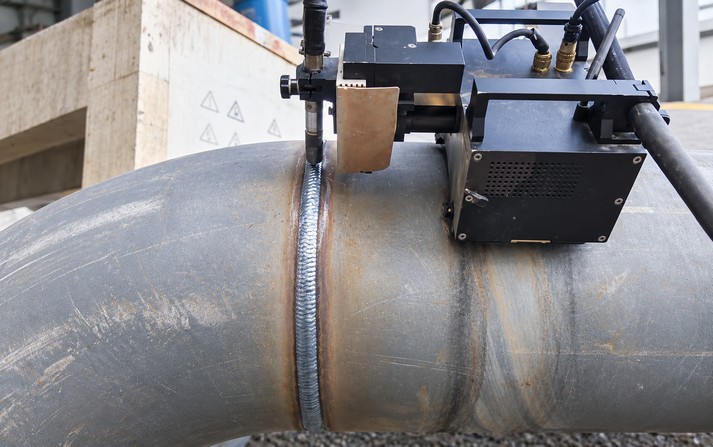
Before installing the track, inspect the pipe and joint. Track alignment is easier when the workpiece has been correctly positioned and the joint geometry is within the required tolerances.
Check the following:
Joint location: Mark the intended welding path clearly enough to reference during installation.
Pipe alignment: Check the alignment of both pipe ends and the root gap around the circumference.
Surface condition: Remove dirt, loose scale, oil, or other contaminants that could interfere with track attachment or welding.
Working clearance: Make sure the carriage, torch, cables, and operator have sufficient clearance.
Workpiece stability: Secure the pipe using suitable supports before installing or operating the equipment.
For large pipe welding, a small alignment error can become more noticeable as the carriage travels around the joint. Correcting the workpiece position before fitting the track is generally more effective than trying to compensate through torch adjustments later.
The same preparation is important for a large pipe circumferential butt weld, where inconsistent joint geometry can affect the root pass and subsequent weld beads.
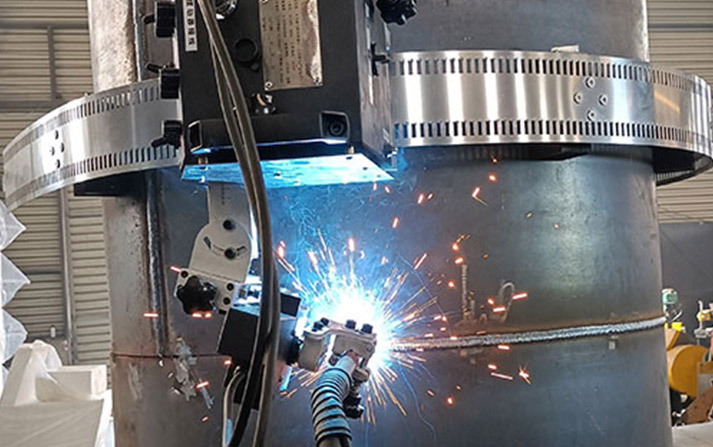
The installation procedure depends on the track design. Some systems use rigid track sections, while others use flexible tracks that can follow a curved surface. Always follow the manufacturer's instructions for attachment, spacing, and adjustment.
A practical installation sequence is:
Identify the required travel path and mark reference points around the joint.
Position the track according to the machine's mounting requirements.
Secure the track using the specified clamps, fixtures, or attachment system.
Check that the track is seated correctly and that its connections are secure.
Inspect the full travel path for gaps, obstructions, loose sections, or abrupt changes in alignment.
For flexible welding track installation, pay particular attention to how the track follows the pipe curvature. Incorrect positioning or uneven attachment may cause the carriage to change direction, vibrate, or move away from the intended welding path.
Do not assume that a track is correctly installed simply because it appears visually straight. Check the path against the actual joint and verify that the carriage can travel across the complete circumference.
A properly secured welding track carriage should move along its intended route without loose mounting points or unexpected interference.
Track alignment is one of the most important steps in circumferential welding setup.
The track must guide the carriage so that the torch can reach the joint at the required angle and position. If the track is offset from the weld seam, the torch may gradually drift away from the joint or require excessive adjustment during travel.
Use the joint as the main reference rather than relying only on the pipe edge or an approximate measurement.
Check several positions along the circumference, including the starting point, intermediate positions, and the return to the starting point. The track-to-joint relationship should remain suitable throughout the entire path.
For a large pipe circumferential butt weld, inspect whether:
The carriage maintains a consistent distance from the joint.
The track remains securely attached around the full circumference.
The torch can reach the joint at different welding positions.
Fixtures, tack welds, or nearby structures obstruct travel.
The carriage can complete a full cycle without an unexpected change in alignment.
Make adjustments to the track or mounting arrangement before fine-tuning the torch. Using the torch mount to compensate for a poorly aligned track can limit the adjustment range and create inconsistent conditions elsewhere on the joint.
Once the track is aligned, position the torch according to the welding process and qualified welding procedure.
Welding carriage torch adjustment typically involves torch angle, electrode or wire position, extension where applicable, and the relationship between the torch and the joint.
The correct setup depends on the welding process, joint design, material thickness, and welding position. There is no single torch angle or distance suitable for every application.
Before welding, verify:
The torch is centered or positioned as required by the joint.
The torch angle is appropriate for the process.
The electrode or wire has the required extension.
The torch mount is secure.
The torch can maintain the required position throughout the travel path.
For an automatic welding carriage for pipe, torch access should be checked at several positions around the circumference, not just at the starting point.
If the application requires oscillation, confirm the oscillation width and travel limits according to the welding procedure and machine capabilities. Do not assume that every carriage includes automatic torch oscillation or closed-loop seam tracking.
A dry run means moving the carriage through its intended path without striking an arc. It helps reveal mechanical problems before they affect the weld.
Set the carriage to a suitable test speed and observe its movement around the complete joint.
During the dry run, check:
Whether the carriage travels smoothly without unexpected stopping or slipping.
Whether the track remains secure.
Whether the torch maintains the intended path.
Whether cables and hoses remain clear of moving parts.
Whether the carriage encounters obstructions at any position.
Whether it can complete the full circumference and return to the starting point.
For large pipe welding, this step is particularly valuable because problems at the far side of the pipe may not be obvious during initial setup.
If the carriage drifts, vibrates, or changes position, stop and identify the cause before proceeding. Possible causes include track misalignment, loose mounting, mechanical interference, or an unsuitable travel setup.
A successful dry run confirms mechanical readiness; it does not yet establish that the welding parameters or finished weld will meet the required quality criteria.
Before the production weld, verify the settings required by the applicable welding procedure.
These may include current, voltage, travel speed, wire-feed speed where applicable, shielding gas, and oscillation settings if supported. The correct values depend on the material, thickness, joint geometry, welding position, and selected process.
For a large pipe circumferential butt weld, use a representative joint or an approved trial arrangement whenever practical.
During the trial weld, observe:
Bead width and overall appearance.
Arc stability and travel consistency.
Torch position relative to the joint.
Weld-pool behavior at different positions.
Any interruptions or mechanical movement problems.
A consistent-looking bead is useful feedback, but visual appearance alone cannot establish internal weld quality. Carry out the inspection required by the project and applicable welding procedure before approving the setup for production.
If adjustments are needed, change one relevant variable at a time where practical and document the results. This makes it easier to identify which adjustment improves the process.
| Problem | Possible cause | Recommended check |
|---|---|---|
| Carriage drifts away from the seam | Track offset or inconsistent alignment | Recheck the track-to-joint relationship |
| Carriage moves unevenly | Loose mounting, track irregularities, or drive issues | Inspect the complete track and drive system |
| Torch cannot reach the joint consistently | Incorrect mounting or limited torch adjustment | Review track position and torch geometry |
| Cables interfere with travel | Poor cable routing or insufficient clearance | Reposition cables according to the manufacturer's instructions |
| Weld bead varies around the pipe | Changes in fit-up, torch position, travel speed, or parameters | Review the joint, carriage movement, and welding settings |
| Carriage stops before completing the joint | Obstruction, travel limitation, or mechanical issue | Check clearances, travel limits, and machine condition |
These checks help separate mechanical setup problems from welding-process problems. A carriage that follows the correct path can still produce poor welds if the joint preparation or parameters are unsuitable.
Before using the setup for repeated welding, verify that the track, carriage, torch, and welding process work together as intended.
Use this checklist:
The pipe and joint are prepared and securely supported.
The track is correctly installed and secured.
The travel path is aligned with the joint.
The torch is positioned according to the welding procedure.
The carriage has completed a full dry run.
Welding parameters have been confirmed.
The trial weld has been evaluated against the applicable acceptance criteria.
Relevant settings and inspection results have been recorded.
For more on the relationship between travel control and production performance, see automatic welding tractor efficiency testing, linking to Efficiency Test of Automatic Welding Tractor for Pressure Vessel Circumferential Seam Welding.
For applications involving larger pipe sections, see automating large-diameter pipe circumferential welds, linking to How to Automate Circumferential Welds on Large-Diameter Pipes.
Use the joint as the main reference, check the track position at multiple points around the circumference, and verify that the torch can reach the joint throughout the complete travel path. Complete a dry run before welding.
A flexible track must follow the workpiece geometry while remaining securely attached. Poor positioning or uneven attachment can affect carriage movement and torch alignment. Follow the specific track manufacturer's installation requirements.
It can be suitable when the machine's operating range, track arrangement, mounting method, torch access, and welding process match the application. Confirm these factors using the actual workpiece dimensions and site conditions.
No. Alignment helps the torch follow the intended path, but weld quality also depends on joint preparation, welding parameters, torch positioning, material condition, and inspection.
A reliable welding track carriage setup requires more than attaching a track to a pipe. The track must be secure, its path must match the joint, and the torch must remain correctly positioned throughout the full circumference.
For large pipe welding, a complete dry run and a representative trial weld help identify problems before production begins. By combining accurate alignment, suitable welding parameters, and documented inspection, manufacturers can make the automatic welding carriage for pipe a more repeatable part of their circumferential welding process.
Zhengzhou Kehui Technology Co., Ltd
Email: info@zzkehui.com





 Chinese
 English
 OA
OA Current location:
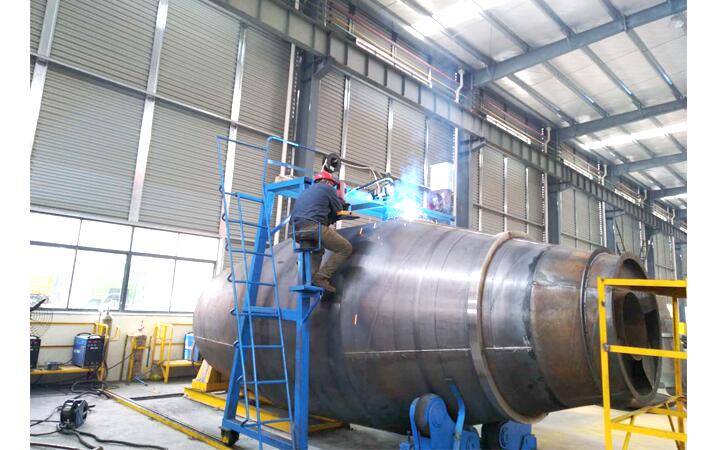 Concrete Mixer Drum Robotic Welding Solutions
 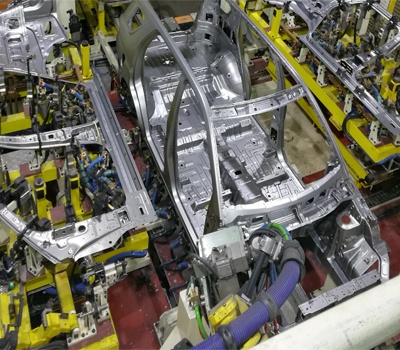 Automobile Body Production Line Welding Fixtures
 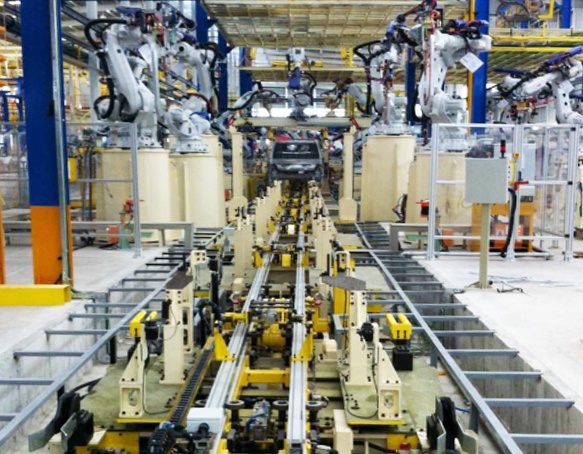 Automotive Body Welding Automated Manufacturing Solutions
 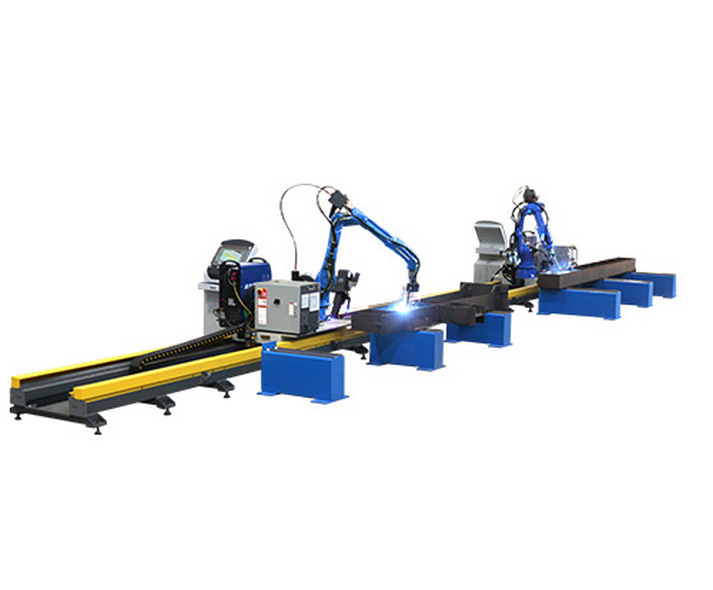 Free-Teaching Programming Welding Robot Cell For I Beam Welding
 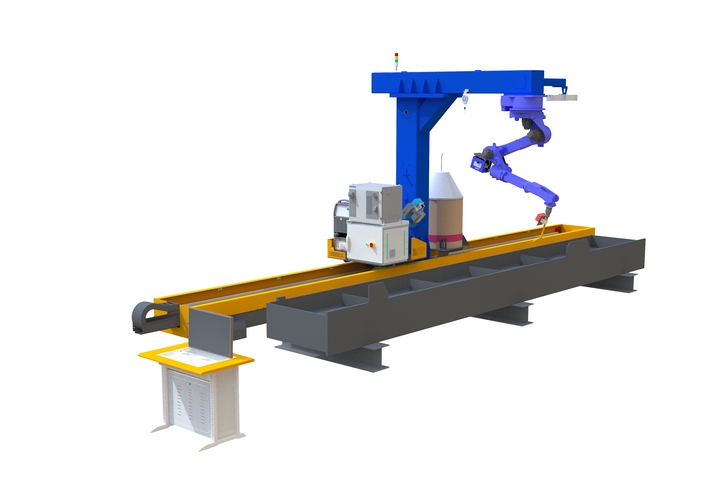 No Programming Required Robotic Welding Systems for H beam Welding Line